
The best DIY oil change tips for beginners at home would have saved me about $80 and a whole Saturday afternoon the first time I tried this. I remember staring at oil pooling on my garage floor, wondering where I went wrong. Turns out, I skipped about five critical steps. If you’re ready to stop paying $75 at the quick lube and start doing this yourself, I’ve made every rookie mistake so you don’t have to.
1. Read Your Owner’s Manual Before You Touch Anything
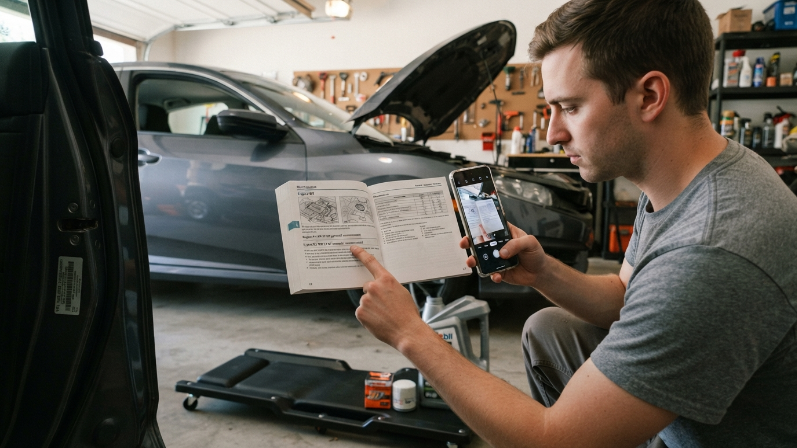
I know, I know. Nobody reads manuals. But your owner’s manual tells you exactly what oil weight your engine needs, how much it holds, and what type of oil filter fits. Guess wrong and you could cause real damage.
My 2018 Honda Civic calls for 0W-20 full synthetic. Yours might need 5W-30. These numbers matter more than most beginners realize. Spend two minutes flipping to the maintenance section or Google your car’s year, make, and model plus “oil specification.” Write it down or snap a photo with your phone. You’ll thank yourself at the auto parts store when there are 47 options staring back at you.
2. Gather Every Tool and Supply First
Nothing kills momentum like crawling out from under your car to hunt for a missing socket. Before you start, lay everything out on a tray or old towel.
Here’s what you actually need:
- Socket wrench set (usually a 14mm or 17mm for the drain plug)
- Oil filter wrench (the band-style ones from Lisle work great)
- Drain pan that holds at least 5 quarts
- Funnel
- New oil filter
- Correct amount and weight of new oil
- Nitrile gloves
- Shop towels or old rags
- Jack and jack stands, or ramps
I keep all of this in a plastic bin in my garage. Total investment was about $45 at Harbor Freight, and it pays for itself after one oil change compared to shop prices. If you buy ramps, grab a pair of RhinoRamps from Amazon. They’re cheap and incredibly sturdy for most sedans and small SUVs.
3. Warm the Engine, But Don’t Burn Yourself
Old oil drains way faster when it’s warm because heat thins it out. Run your engine for about three to five minutes before you start. Not ten. Not fifteen. Just enough to get things flowing.
Here’s where I almost learned the hard way: hot oil on bare skin is no joke. That’s why you let it sit for a minute or two after shutting the engine off, and you always wear gloves. Warm is what you want. Scalding is what you want to avoid. This tiny step makes the difference between a clean drain and leaving a bunch of old sludge sitting in your oil pan.
Best DIY Oil Change Tips for Beginners: Get Your Car Up Safely
This is the step that scares most people, and honestly, it should get your full attention. Never, ever crawl under a car supported only by a jack. Jacks fail. People get killed.
Use jack stands rated for your vehicle’s weight, or drive your car up onto a set of ramps on a flat, level surface. I prefer ramps because they’re faster, but some cars sit too low for them. If that’s your situation, jack the front end up at the manufacturer’s recommended lift points (check that owner’s manual again), then slide jack stands under the frame. Give the car a firm shove before you get underneath. If it wobbles, something’s wrong.
I also chock my rear wheels with a couple of old bricks. Paranoid? Maybe. But I’ve been doing my own oil changes for six years now and I’m still here.
4. Drain the Old Oil Completely
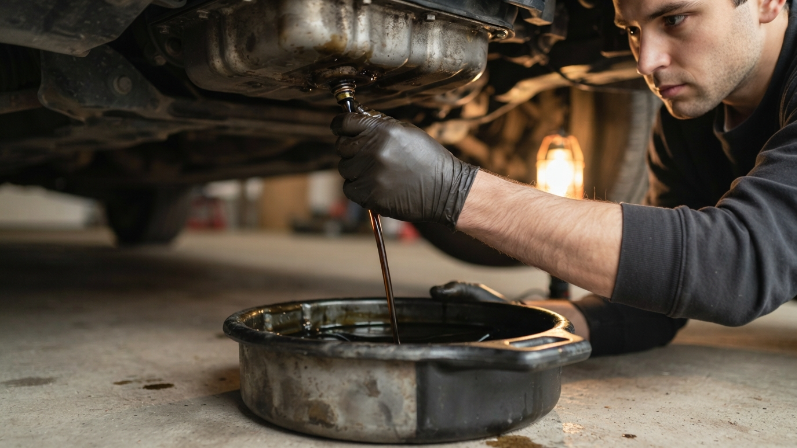
Slide your drain pan under the oil pan and locate the drain plug. It’s usually the lowest bolt on the bottom of your engine. Loosen it with your socket wrench, turning counterclockwise.
Here’s the rookie move I pulled on day one: I let the plug drop straight into the drain pan full of hot oil. Fishing around in a pool of black oil is not a good time. Instead, keep slight inward pressure on the plug as you unscrew the last few turns by hand, then pull it away quickly. The oil will shoot out at an angle, so position your drain pan a few inches behind the plug, not directly underneath.
Let it drain for at least ten minutes. Go grab a drink. Scroll your phone. Just let gravity do its thing. Rushing this step means you’re leaving old, contaminated oil mixing with your fresh stuff.
5. Swap the Oil Filter Without Making a Mess
While the oil drains, locate your oil filter. On most cars it’s on the side or bottom of the engine block. Some newer vehicles have a top-mounted cartridge filter, which is honestly way easier to deal with.
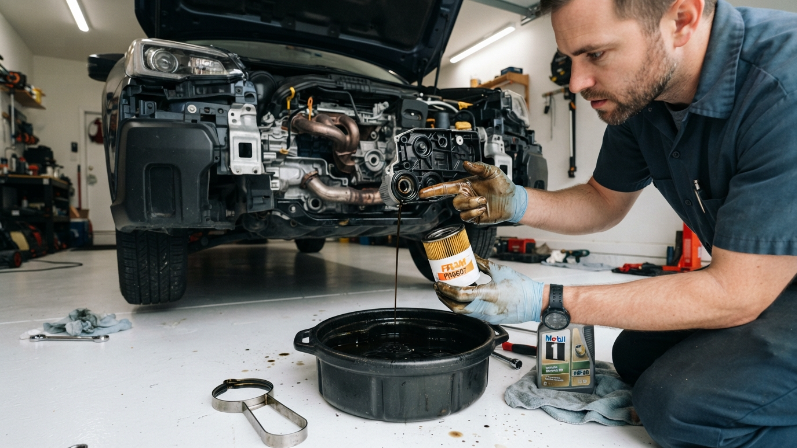
Use your oil filter wrench to loosen the old one. Before you pull it off, know that it’s full of oil too. Tilt it upright as you remove it so you don’t dump oil everywhere. I learned this lesson on my white garage floor.
Before you install the new filter, dip your finger in fresh oil and smear a thin coat around the rubber gasket on the new filter. This creates a proper seal and makes removal easier next time. Hand-tighten the new filter, then give it about a three-quarter turn past snug. Don’t use the wrench to tighten it. Over-tightening crushes the gasket and causes leaks. The box usually has instructions on how tight to go. Actually read them.
6. Reinstall the Drain Plug (and Don’t Over-Torque It)
Once the oil has fully drained, wipe the drain plug and the area around the oil pan hole with a clean rag. Check whether your drain plug uses a crush washer. Most do, and you should replace it every time. A new crush washer costs about 50 cents and prevents slow leaks.
Thread the drain plug back in by hand first. This prevents cross-threading, which can strip the threads on your oil pan and turn a $30 job into a $300 repair. Once it’s hand-tight, snug it with the wrench. You want firm, not Hulk-level tight. Most drain plugs torque to around 25 to 30 foot-pounds if you have a torque wrench. If you don’t, just go snug plus a quarter turn.
7. Pour In the New Oil and Check the Level
Pull out your funnel and pour in the new oil through the oil fill cap on top of your engine. Add about three-quarters of what the manual says first, then check the dipstick. It’s way easier to add oil than to remove too much.
Once you’re close to the full mark, add small amounts at a time. The dipstick has two marks or dots. You want the oil level between them, ideally closer to the top mark but not over it. Overfilling can cause foaming and pressure issues that damage seals.
I use Mobil 1 full synthetic in my Civic because Honda recommends synthetic and it goes on sale regularly at Walmart. For the filter, I stick with a Purolator PureOne or a Wix. Both filter well and cost under $10.
8. Run the Engine and Check for Leaks
Start the car and let it idle for about a minute. The oil pressure light on your dash should turn off within a few seconds. If it doesn’t, shut the engine off immediately and check your oil level and filter.
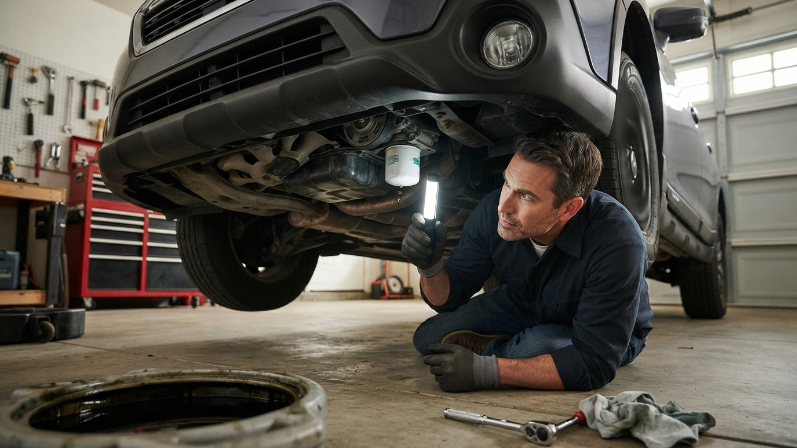
While the engine runs, get down and look under the car with a flashlight. Check around the drain plug and oil filter for any drips. Even a slow drip means something isn’t sealed right. Shut it off, find the issue, and fix it now. A leak at the filter usually means the gasket from the old filter stuck to the engine block. I’ve had this happen once, and it took me way too long to figure out what was going on. Always check that the old gasket came off with the old filter before installing the new one.
After everything looks dry, shut the engine off, wait two minutes, and check the dipstick one more time. Top off if needed.
9. Dispose of Your Old Oil the Right Way
Don’t pour old motor oil down a drain or throw it in the trash. That’s illegal in most places and genuinely terrible for the environment.
Pour the used oil from your drain pan into the empty oil containers you just used. Most auto parts stores like AutoZone, O’Reilly, and Advance Auto Parts accept used oil for free. Just walk in with your sealed containers and they’ll take them. Some municipal recycling centers accept it too. I keep a dedicated 5-gallon jug in my garage and drop it off every few oil changes. Takes about five minutes.
Frequently Asked Questions
How often should beginners change their oil at home?
Most modern cars running full synthetic can go 7,500 to 10,000 miles between oil changes. Some push that to 15,000. But if you’re just starting out, every 5,000 to 7,500 miles is a safe range. Check your owner’s manual for the manufacturer’s recommendation and don’t rely on the old “every 3,000 miles” rule. That’s outdated for most vehicles built after 2010.
What happens if I use the wrong oil weight?
Using the wrong viscosity can cause increased engine wear, reduced fuel economy, and in extreme cases, engine damage. Your engine was designed around a specific oil weight for a reason. If you accidentally used 5W-30 instead of 0W-20, change it as soon as you can. One short drive probably won’t destroy anything, but don’t keep running it.
Can I do an oil change without ramps or a jack?
Some trucks and SUVs have enough ground clearance to slide under without lifting them. But most sedans and crossovers sit too low. If you absolutely can’t get ramps or a jack, drive the front wheels up onto a pair of sturdy, flat boards to gain a couple inches. Just make sure the car is secure and on a flat surface. I still recommend proper ramps or jack stands for safety.
What are the best DIY oil change tips for saving money?
Buy oil and filters during sales or in bulk. Walmart and Amazon frequently run deals on Mobil 1, Castrol, and Pennzoil multi-packs. A 5-quart jug plus a quality filter usually costs $25 to $35, compared to $75 or more at a shop. Reusing your tools means every future oil change just costs the price of oil and a filter.
Is synthetic oil really worth the extra cost?
For most modern engines, yes. Synthetic oil lasts longer between changes, handles extreme temperatures better, and keeps your engine cleaner. The per-change cost is higher, but since you change it less often, the yearly cost is usually about the same or even lower than conventional oil with more frequent changes.
Conclusion
Changing your own oil is one of those skills that feels intimidating exactly once. After that first successful drain and fill, you’ll wonder why you ever paid someone else to do it. So grab a drain pan, pick a weekend morning, and give it a shot. What’s the car you’re planning your first oil change on?